Saturday, January 2, 2021

THE DUST FREE COMPUTER PROJECT


 The main goal is getting the inside of my new computer as dust free as possible.

All of my previous computers needed to be regularly opened and the dust blown out, the earlier ones I even had to take them apart to do this and they had no dust filters. None.

Yes, you can buy filtered cases for industrial use but they are big, ugly and probably sound like a jet engine while my design needs to be very quiet and small – well, small enough to fit behind the monitor on my desk which has specific size limits since it is in a corner.

The previous PC (7980XE)  in place

As you can guess, I don't want glass doors, RGB or any bling at all either.

The new computer will be built in a case that comes with dust filters – but these filters are thin fabric mesh, only effective for larger bits of dust like hair – the fine stuff just goes straight through and there is a reason for that: the better the filtration, the harder the fans have to work to suck air through them.

None of the cases I have seen met my needs so I settled for the Fractal Define 7 Compact knowing that I would have to modify it to get what I wanted.

I found a review that suggested that there is not enough front air intake area in the Define 7 Compact case as supplied. Nobody mentioned the total lack of positive pressure though: it seems that other people don't care if there are gaps between the fans or if parts of the case block fan intakes. Some areas of the case have vent holes in places that make it look like the airflow can easily become circular! I am not going to have any of that though. The filter box will leave a gap at the bottom where air from the bottom of the case can be drawn in.


Original case front with fan mounts

My mods will not show outside the finished case and they should give positive pressure.

Please note that I am not complaining about the case: I am sure that Fractal made a good case, it is just that my needs are apparently a bit unusual.


THE CASE MODS

The design uses automotive air filters (the type used for cabin air, not the engine ones) which will be sucked on by three 120mm Noctua fans. Finding the right filters was a bit tedious since the measurements need to be close but I found something that will do. They are listed as “ Ryco Cabin Air Pollen Filter RCA294P fits Great Wall X200 2.0DT 4x4” and cost $45.90 AU for two.


Stage 1

To make sure the filtered air all goes into the case and provides positive pressure I worked out the places where the case needed to be sealed off and made patterns for the parts. I did this with cardboard and used sticky tape to hold them in place. 


 Above: Patterns fitted to case

There is the filter box, the lower air box which seals off the bottom of the case from the insides and two blanking plates, one to close the hole at the bottom of the door and one for the inside bottom of the case.


Stage 2

Next I got some ABS sheet off Ebay – this was not cheap but it is well worth it.

Since it was black I put masking tape over the sheets where I wanted to draw lines and then marked out the parts from the patterns I had made on the tape.

The back of the filter box was made of 5mm thick sheet , most of the rest were 2mm and the blanking parts were 1mm sheet.

To cut the back of the filter box I first drilled out the fan holes with a 115mm hole saw. This is best done first since if they are off or you get the plastic too hot it could ruin it. In a bigger sheet it will be more stable and easier to handle. Then I cut the outside shape with a saw.

The thinner parts were cut with a heavy craft knife – clamp a metal ruler over the line you want then cut repeatedly until it gets thin or the groove gets deep enough that you can crack it off. Sand and file everything to exact size and you are done. Note that cut edges will have a raised edge and a V shaped profile which is why you need to file and sand.


 Cut parts. 1- Filter box back, 2 & 3 - sides, 4,5,6 - Lower Air Box, 7 - Bottom plate, 8 - Door Blocker


Stage 3

I taped all of the filter box parts together with masking tape on the outside and checked that they all fit together nicely at the joins. Then it was a simple matter of running superglue ( I used Zap-a-gap) along inside the seams to stick them together. You don't need a lot of glue and it should run along the seams by itself, with a little help from gravity.

Once the glue was set I took off the tape and ran more glue on the outside seams now exposed.


Stage 4

While the glue was drying I got out my dremel- like device and suitably covered in mask, earmuffs, safety glasses and gloves, chopped the front of the case to fit the filter box.

Before I did this I took everything removable off the case as the metal and paint dust is the type of gunk that you do NOT want in a PC case. It took an hour or two and three saw blades but I kept at it and chopped the front out as well as a small part of the inside so that the filter box would go behind the case front plate.

After that I filed all of the metal edges as smooth as possible and then washed the whole case in lots of water and a cleaning rag to get all of the metal dust off.

This is crucial and I washed it twice as I missed some corners the first time. 

Front of case after cutting


Extra edge area that had to be chopped

Stage 5

I sanded the filter box to get rid of the glue lumps on the outside and taped it into the case and started fitting the parts of the lower air box to the case with more sticky tape, adjusting the part shapes until they all fitted neatly together.

Then it was a simple task to take the assembled lower air box parts out and glue them together as previously described. While that dried I worked on the filter box. I needed to add some supports for the filters and I had already drilled holes for some coathanger wire rods across the box for this purpose. I wanted to make sure the spot in the middle where the two filters met did not leak and I found an offcut of 5mm that fitted nicely there. I also made three small blocks of 5mm on the side of the box where it could be screwed into the case.

By using screws to attach it I could modify it later and it just looked neater.


Filter Box finished

Stage 6

The lower filter box needed finishing and a bit of reinforcement but once that was done and filed down neatly it all looked good. The bottom screw holding the filter box also holds on the lower air box. Originally I thought of gluing it all into the case but in the end I got some heavy black tape and used that to seal the air gaps and fix the lower air box to the case. 
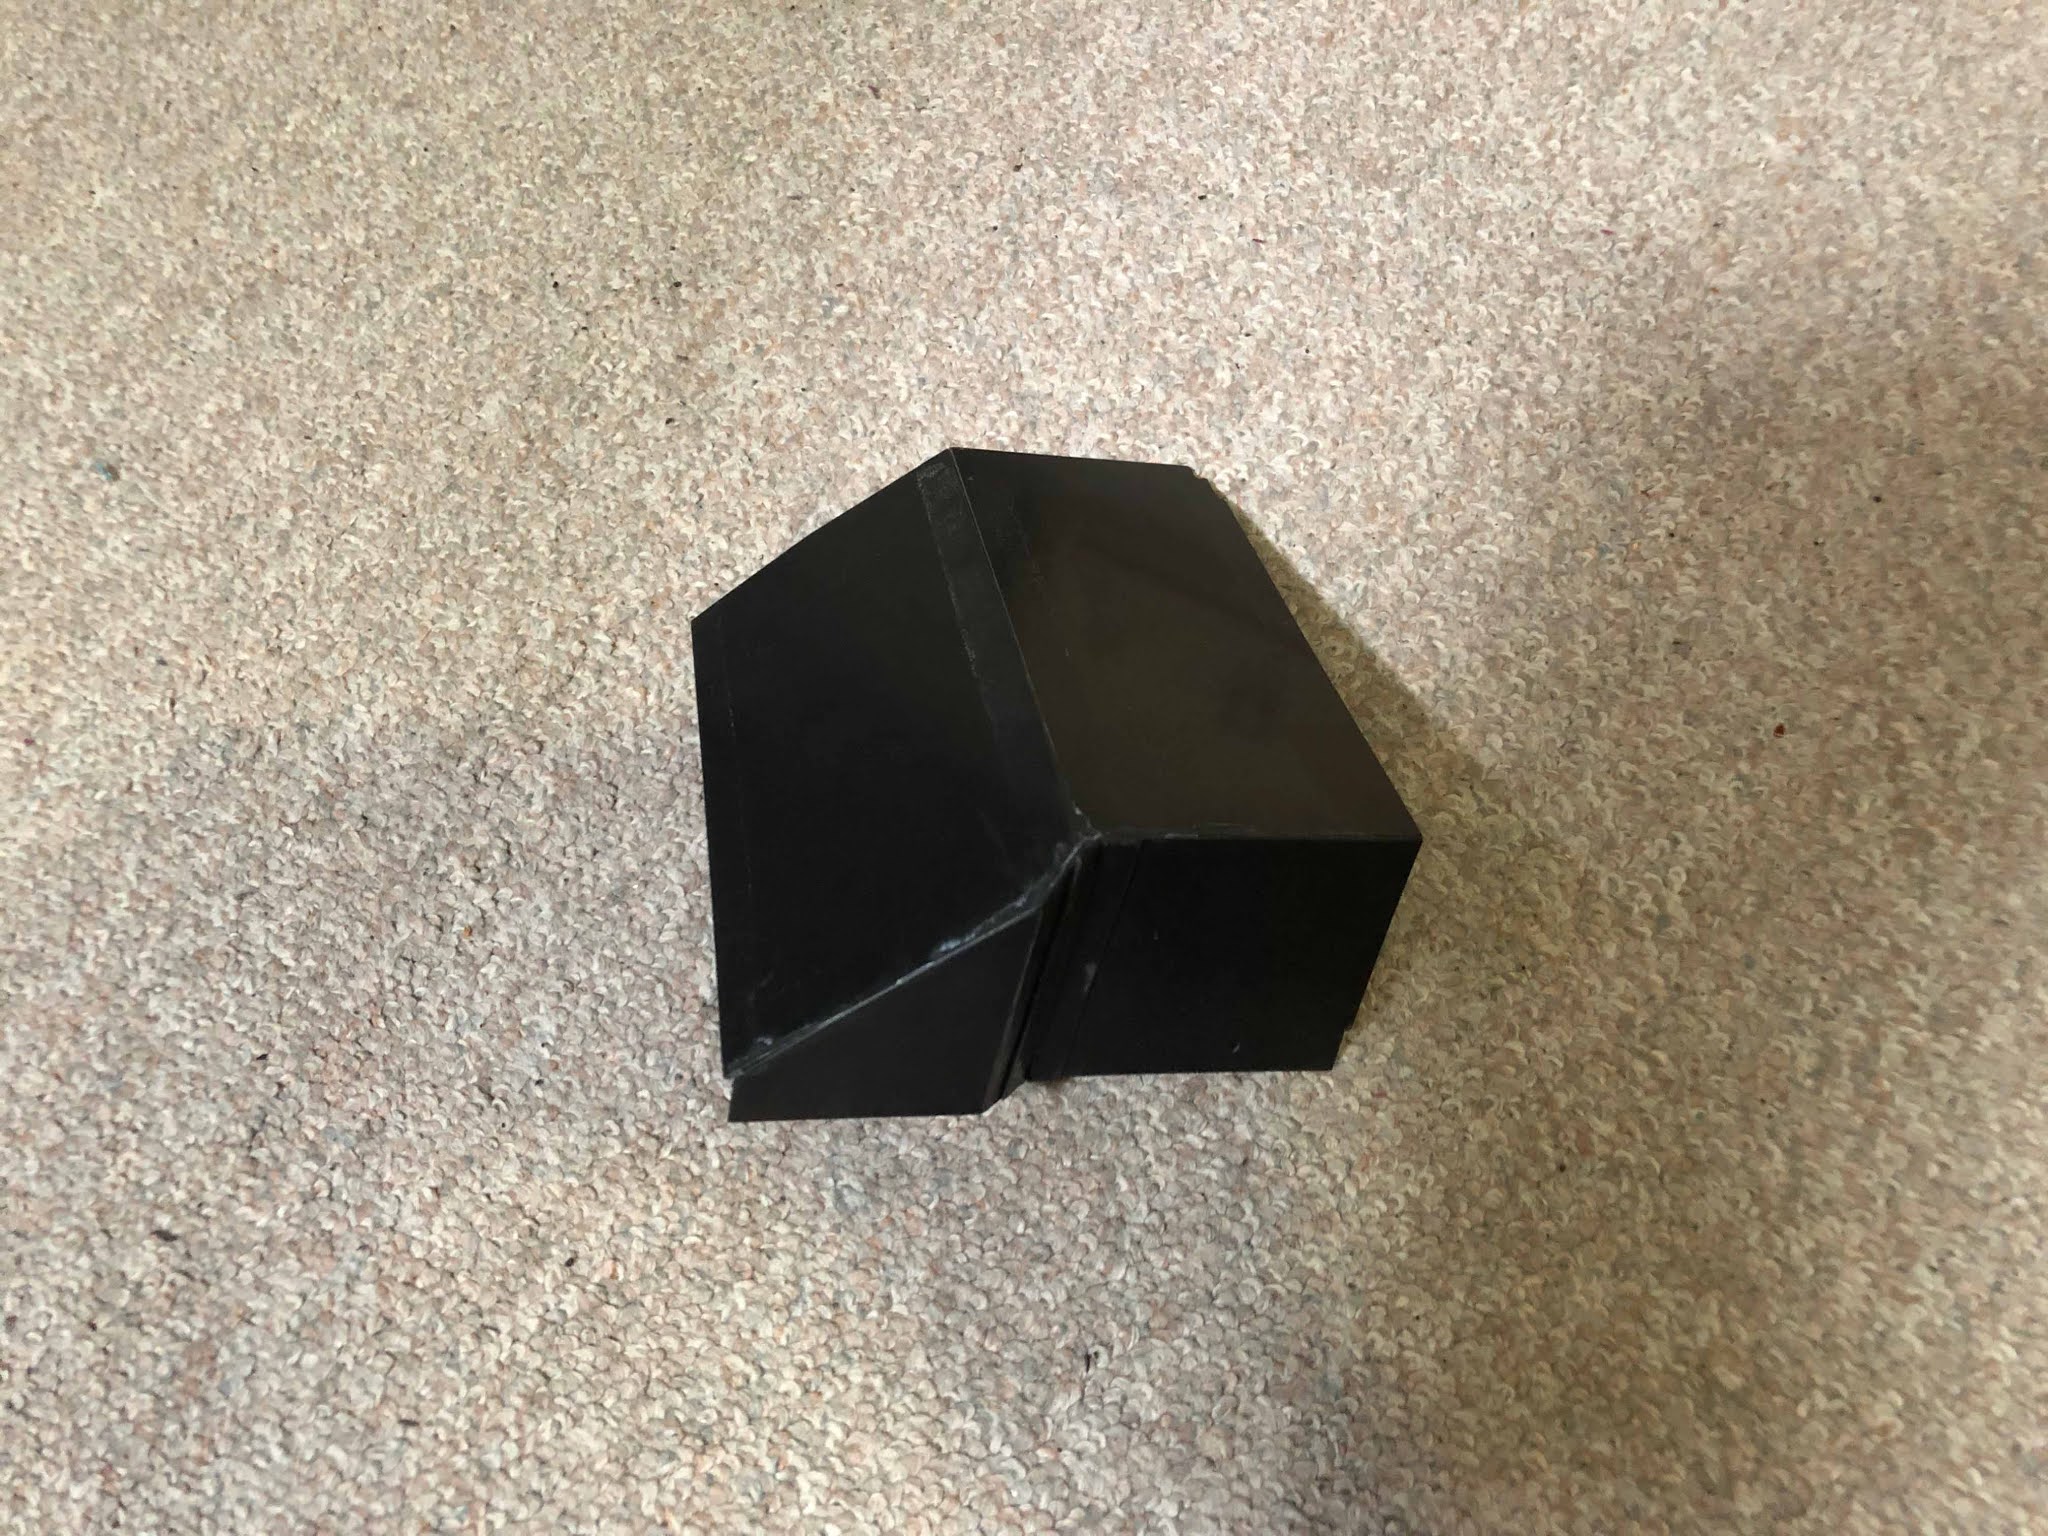
Lower Filter Box


Stage 7

The door blanker was glued in, the big plate stuck inside the case with double side tape and then there was one last thing to do: The knobs that clip the door on needed to be shaved a little to avoid hitting the filter box.

Once everything was installed it looked good. I did not paint the cut areas of the case as it was more trouble that it was worth – this is not a display case. I don't expect the metal to rust as it should not get wet.


All parts fitted

After finishing the installation of everything and testing, it all works just fine, no overheating anywhere - but then I credit that to AMD making an excellent CPU with a nice big heat spreader and Noctua making a good cooler to match it.  The new PC has an AMD 3970 CPU and an Nvidia RTX 3090 GPU and it really is a big improvement over the old one. 


Everything installed
 

Friday, September 25, 2020

How to spot a potential fascist


Wow.  Well worth a look - and then apply it to what you see in politics. Thankyou, Tom.

Saturday, September 19, 2020

THE SHOLLEY PROJECT


I have a Clax shopping trolley - Original cost $285.00 AU

Made almost completely of injection moulded plastic parts.

Original model weaknesses

  1. Front wheels are too small. Even a small ditch stops the cart.

  2. Bendy. Some would call it a feature but the plastic frame bends on uneven ground. I want something a bit stronger. I am concerned that this will eventually result in it breaking.

  3. Folding. The current model has a lot of complexity and parts because it folds flat while I don't need that. Yes, it is nice but unnecessary for now. Who knows what will happen in future though.

    4. Stairs and steps - gettign it up stairs when full is less than ideal.

---------------------------------------------------------------

This one has kept me thinking for a while since I use it every weekend for our home shopping.

I started by designing it in Blender.

The Mk.1 has a simple 4 wheel design and folding frame.


The folding frame was a major complication but if I want to sell the design or the finished unit to anyone it is pretty much essential. I may not be living in a place where I can leave it up all of the time in future too so it is a desirable feature.

There was a lot of design work to get to this point and I planned to make it from aluminium extrusions and plates with some 3D printed parts for style or rounding corners. The folding system really needs to be made in the physical to test everything but I am not going to do that at this point.

Here is the folded look:


This was all okay but I realised that taking it up stairs or steps is a major need so I designed a new version with stairclimber wheels, the Mk.2


I believe this design of 3 wheel arrangement is patented and you cannot sell anything using it legally without giving a certain big defence contractor money which is a bit of a pest for a tiny one horse operator like me, so I thought up a cheaper slightly different version using two rear wheels per side to cut down on weight and cost. The down side is that it loses most of the benefit of having the three wheel arrangement since the pivot point is level with the wheel axles thus there is no reduction of effort. It doesn't matter if you are only making one for your own use, you don't pay for the patent then.


The main issue with building this thing is that I only have a little tin shed and no time to muck around building a milling machine etc. etc. to do the project properly. This is a big pain for me as I like to make things and not having a workshop is annoying but I can't do anything about it right now. I can't move due to family issues.

So there it is for now. Maybe in a few years when I am forced to retire I can get onto it. If you want plans and so on or have comments, just let me know. 

Friday, August 28, 2020

In case you were wondering . . . .

 Just for you, dear reader, this video tells you all about what is going on today. 


Friday, October 4, 2019

The Tool Case Project Part 1

Tool Organising, or The Adam Savage Obsession – TOOL CASES 

Okay I admit it. I watched Adam and realised that my workshop was hopeless – I don't actually have a workshop in fact. I need a space that can be organised as a workshop but more than that, it needs places for all of the tools I use and they must be organised so I can find them. I have suffered though moving house and as a result everything shop was packed in cardboard boxes and shoved in a tin shed until now. Then I decided to start making things again. I ended up buying tools I already had again because I didn't even know what I had, and even if I remembered it, I couldn't find it: a nightmare.
I won't get this problem again if I make my tool boxes well and so this is that project.
This is not a new idea for me either: I have been saving some cases from old video equipment I found years ago for exactly this purpose – they are mainly plywood and even if I only use the metal corner bits and hinges it will have been worth it.

I looked at buying tool cases but there is nothing that meets my needs – either they are impractical, too expensive or both. Lots of blowmould plastic: Nope. I will be getting some organisers for parts like nuts & bolts but none of the tool cases I have seen make sense to me.

I don't really want any big freestanding tools like a sawbench since I don't expect to do that much sawing – and I would rather find or make some sort of compact, folding alternative instead – I know I will have to move house again sometime and if any item is too big it will just be a burden, and don't even think about the cost. Those things are expensive.

DESIGN
I first set out some categories for my tools so that I could decide how many cases and what for:
I came up with six : (1) marking, (2) drill/tap, (3)saw/file, (4)join/clamp, (5)electrical and (6)paint.

As I learned from Adam, the best cases can either be sat at the back of the workbench for easy access or they become the workbench itself – this I intend to do for the electrical case. 

I also want to avoid making layered cases where you need to open layers to get at the tools behind: that means you can't see what you have got. Everything should be visible at a glance.

The cases must also be hand movable which limits the weight, so I might need to split the power tools up. 
It is also a good idea if heavier items should be lower down in the case for stability.

I expect to make them mostly out of plywood so I will need a saw with straight guides for that: not sure exactly how that will be done yet. I may need to buy a new tool for this !

There is one more issue to mention: expansion. I expect to be getting more tools as time passes or replacing tools that fail, so there must be some room for expansion and ways to modify or replace the tool clamps as needs arise, so the cases should be like this: there should be a solid main case body and then tool clamps screwed or otherwise removably attached to that.

As always I begin the design phase by measuring and modelling in Blender to get an idea of how things will be packed in and so forth.

Here are the two basic design ideas as described:

Basic case

Case/bench combination
 Yep, that means I now have a whole heap of projects to keep me busy every spare moment  - and this one could stall the others for weeks  - but it has  very good reasons why. I don't ever want to dig through piles of rusty tools for a chuck key again. It's kind of a metaproject: all others will benefit from it.  
Special thanks to Adam Savage for reminding me of my maker roots. Maybe other people have their ethnicity or something to identify themselves with, but me? I'm an engineer, a maker.